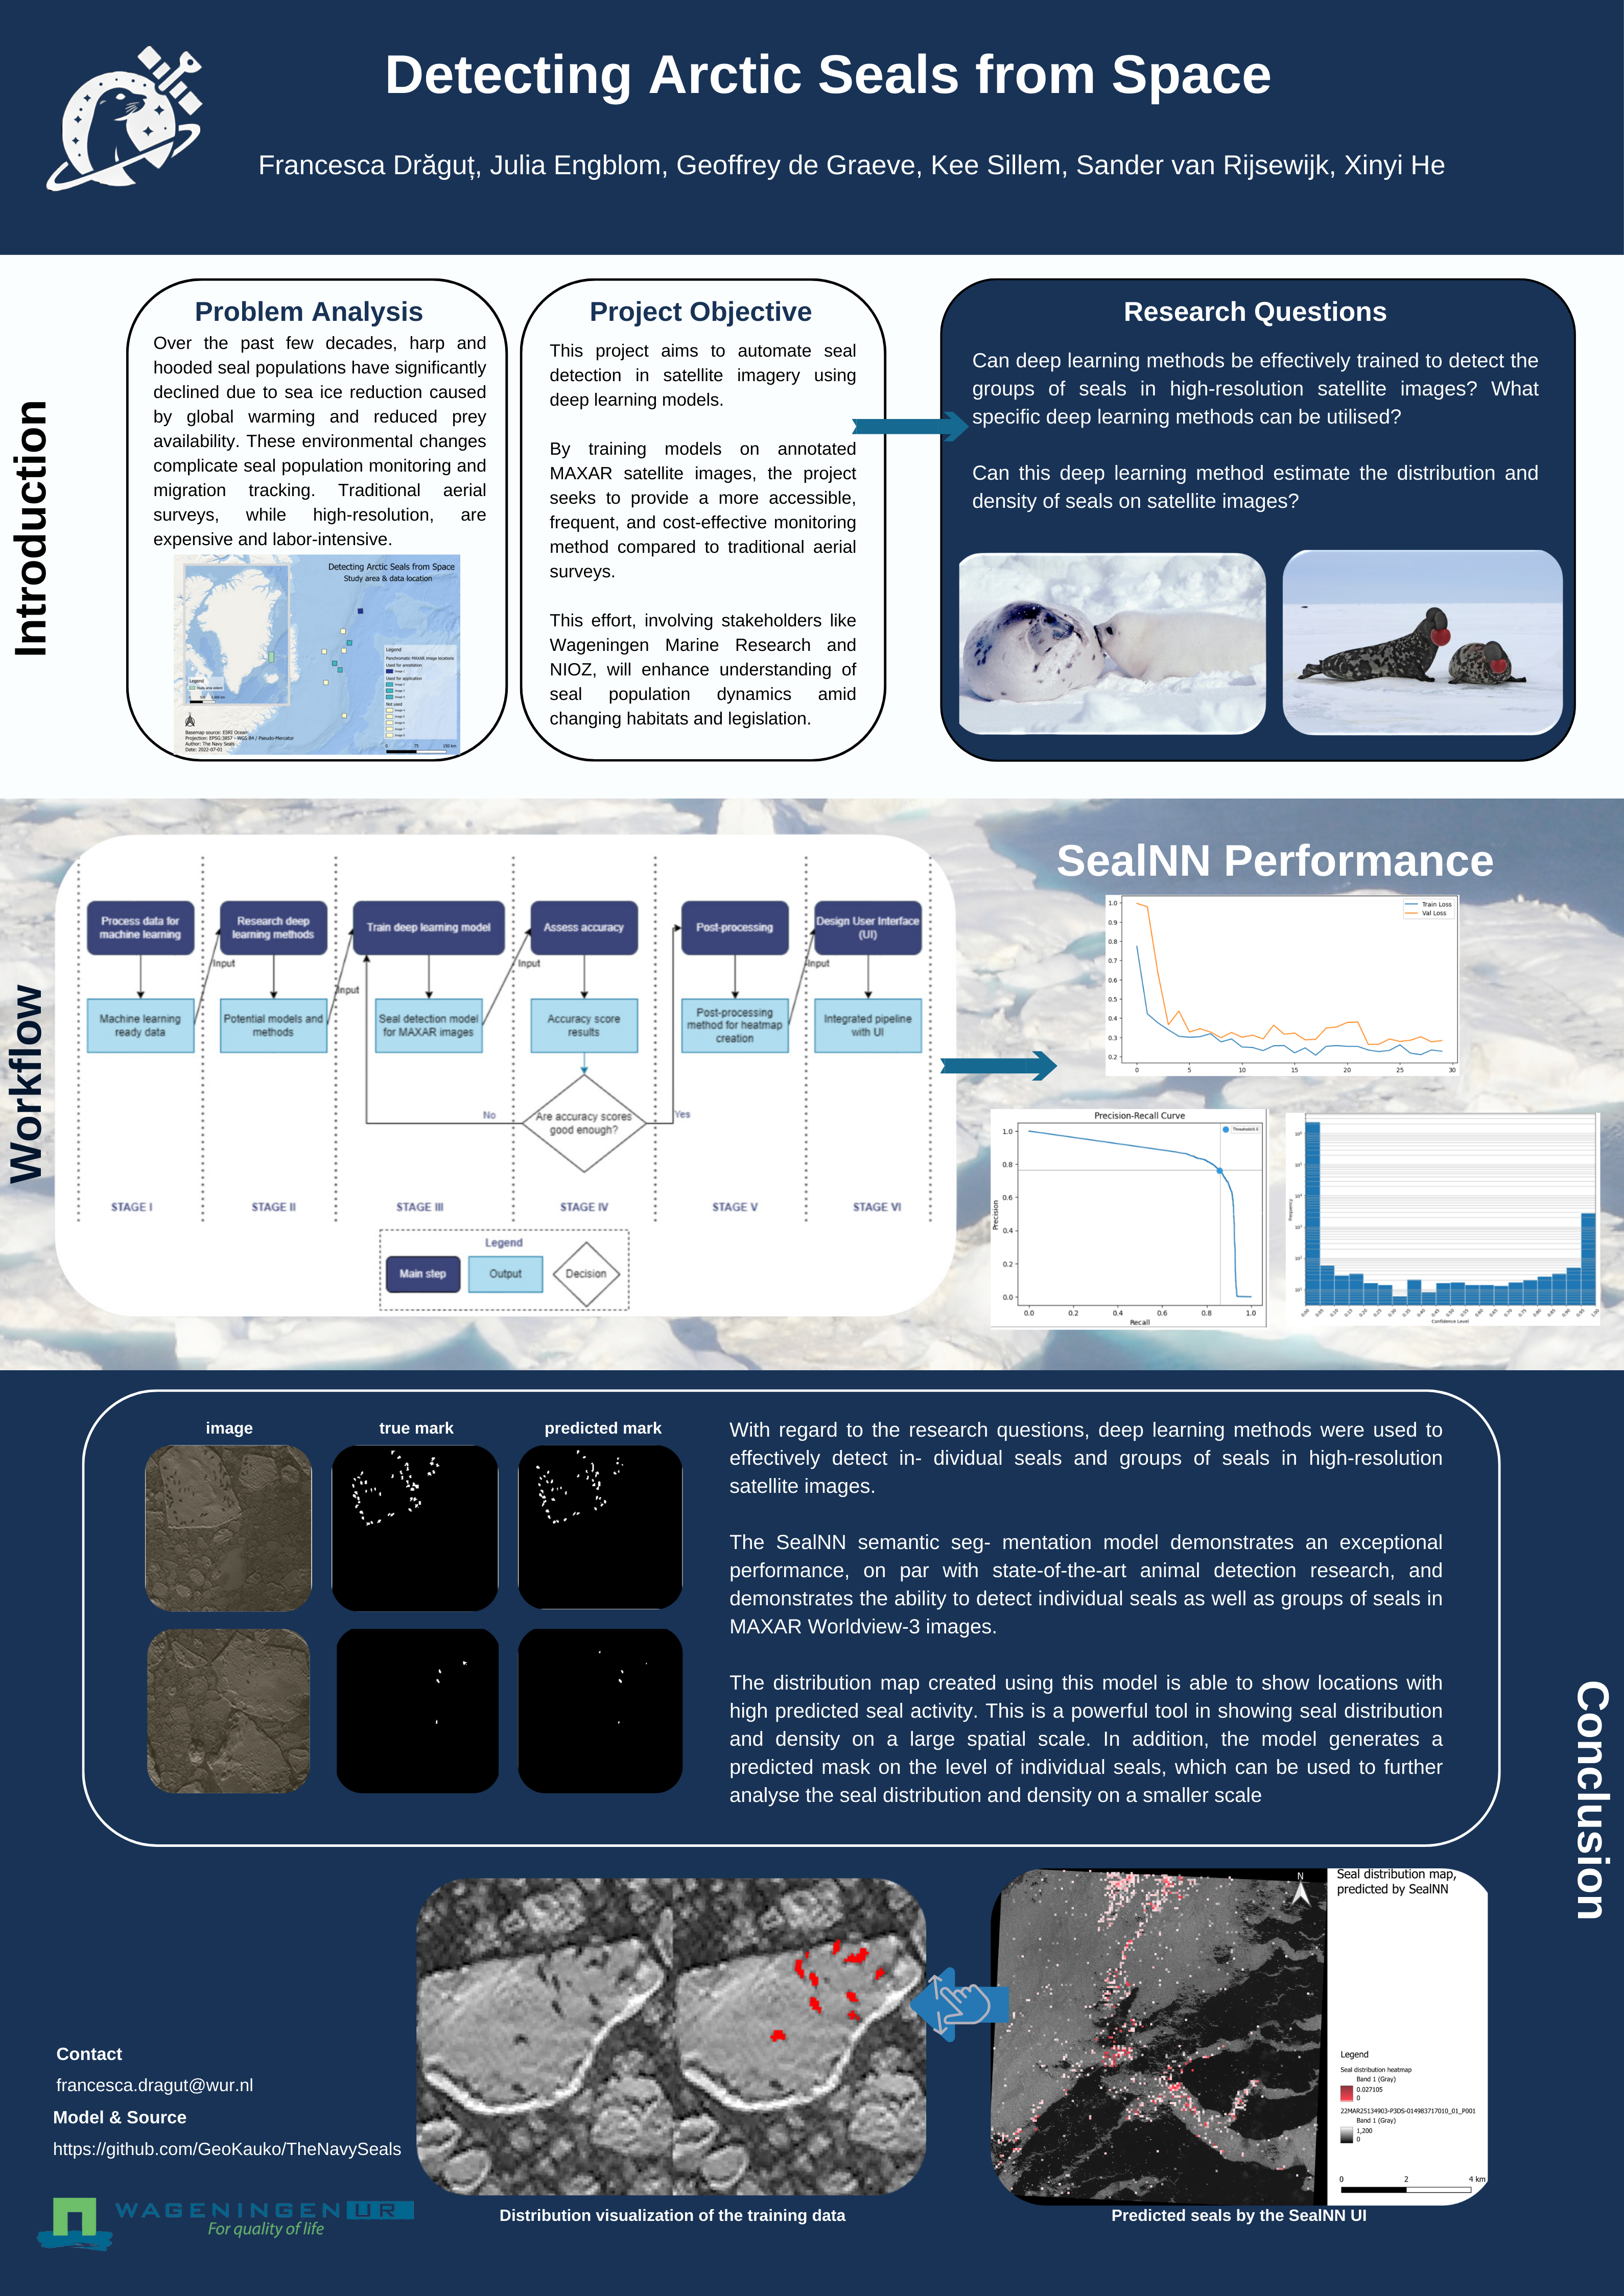
TheNavySeals
The working repository of the Navy Seal project.
Setting up the project for detection of seals using the UI
Follow these steps to use the application to detect seals on panchromatic images with a 30cm resolution.
1. Set up the environment in Google Colab
- Clone the GIT repository from https://github.com/GeoKauko/TheNavySeals.git to your google drive root folder
- Run the first cell
- Save your image to “data/1_preprocessing/1ps_image”
- Specify the name of the image in the next cell
- Continue to step 3
2. Set up the environment locally
- Clone the GIT repository from https://github.com/GeoKauko/TheNavySeals.git on your local drive
- Set up the environment using Anaconda
- Open Anaconda Prompt
- Navigate to your the root folder of your project directory
- Create the environment from the
yamlfile:conda env create --file project_env.yaml
- Open the project from your preferred IDE and activate the environment “TheNavySeals”
- Run the 2_Postprocessing.ipynb up until folder creation
3. Start the app
- Download SealNN and save it in the “TheNavySeals/data/2_deep_learning/2b_final_model” directory
- Run the rest of the code until the app opens up
- Select your image and press process
- The app will tell you when the image is done processing and the location of the output heatmap and predicted mask
文档信息
- 本文作者:Xinyi He
- 本文链接:https://buliangzhang24.github.io/wiki/2024-06-06-NavySeal/
- 版权声明:自由转载-非商用-非衍生-保持署名(创意共享3.0许可证)
